
Disclosure: As an Amazon Associate, I earn from qualifying purchases. Learn more
Last Updated on August 28, 2022 by Mark Jase
Wood burning tools are most commonly used on wood surfaces to create designs, but can You Use a Wood Burning Tool on Plastic?
With the right technique, you can use a wood burning tool on plastic to create interesting designs and patterns. However, it is important to be aware of the potential risks involved in working with plastic, such as melting and the release of fumes.
When working with plastic, it is important to use a lower temperature setting on your wood burning tool. This will help to prevent the plastic from melting and becoming deformed. You should also work in a well-ventilated area to avoid inhaling fumes from the burning plastic.
If you are looking to add a personal touch to a plastic item, such as a phone case or a piece of jewelry, a wood burning tool can be a great way to do so. Just be sure to use the proper safety precautions and work in a well-ventilated area.
What Can You Use a Wood Burning Tool On?
If you’ve ever seen someone using a wood burning tool, you know that the process looks pretty simple. You just hold the tool to the wood and start drawing. But what can you actually use a wood burning tool on?
The answer is: quite a lot! Wood burning tools can be used on wood, of course, but also on cork, leather, and even some types of fabric. If you’re looking to add a personal touch to any of these materials, a wood burning tool is a great way to do it.
Wood
Wood is the most common material to use a wood burning tool on. It’s easy to find and usually easy to work with. You can use a wood burning tool to create any number of designs on wood, from simple lines and shapes to more complex illustrations.
Cork
Cork is another great material for burning designs into. It’s softer than wood, so it’s easy to carve into. And like wood, it’s easy to find and work with. Cork is a great option if you want to add a unique touch to something like a bulletin board or a piece of jewelry.
Leather
Leather is a bit more challenging to work with than wood or cork, but it’s still possible to burn designs into it. The key is to find a thin piece of leather that’s easy to maneuver. You can use a wood burning tool to create all sorts of designs on leather, from simple shapes to more intricate patterns.
Fabric
Fabric is probably the most challenging material to use a wood burning tool on, but it is possible. The key is to find a fabric that’s thin and easy to work with. You can use a wood burning tool to create all sorts of designs on fabric, from simple shapes to more intricate patterns.
So, there you have it! These are just a few of the materials you can use a wood burning tool on. So, if you’re looking for a way to add a personal touch to any project, consider using a wood burning tool.
Relevant Post: Is Wood Burning a Chemical Change?
Can You Cut Plexiglass With a Wood Burning Tool?
Plexiglass is a type of thermoplastic, which means it can be molded and shaped using heat. It’s a popular material for many different applications because it’s lightweight, durable, and shatter-resistant. You can cut plexiglass with a wood burning tool by using a stencil to trace your design onto the surface of the plexiglass.
Then, use a soldering iron or other heated tool to carefully melt away the excess plexiglass around your design. Be sure to work slowly and carefully so that you don’t crack or break the plexiglass.
Can You Use a Wood Burning Tool on Paper?
There are a few things to consider when using a wood burning tool on paper. The first is the type of paper you’re using. If it’s a thin, delicate paper like vellum, you’ll want to be extra careful not to scorch or tear it.
A thicker paper will be easier to work with and less likely to be damaged.The next thing to think about is the design you’re trying to create. Wood burning tools can create very intricate designs, but they take practice and patience.
If you’re just starting out, it might be best to keep your design simple. Once you get the hang of it, you can start adding more detail.Finally, make sure you have a good quality wood burning tool.
Cheap tools can be difficult to use and may not give you the results you’re looking for. Investing in a good quality tool will make your wood burning experience much more enjoyable (and successful!).
Can You Use a Wood Burning Tool on Paint?
No, you cannot use a wood burning tool on paint. The heat from the tool will cause the paint to blister and bubble.
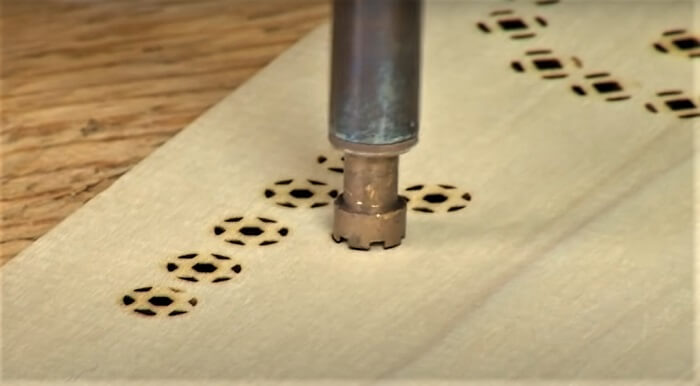
Wood Burner Tool
A wood burner tool is a great way to add a personal touch to your woodworking projects. With this tool, you can easily and quickly create unique designs in your wood. There are many different types of wood burning tools available on the market, so it is important to choose one that is right for you.
If you are new to wood burning, consider buying a starter kit that includes all the necessary supplies and instructions. When using a wood burner tool, always follow the manufacturer’s instructions carefully. Be sure to wear protective gloves and eyewear when working with this tool.
Wood burning can be addictive, so be sure to set aside some time each week to work on your projects. This hobby can be very rewarding, and you’ll soon find yourself creating beautiful works of art with your wood burner tool!
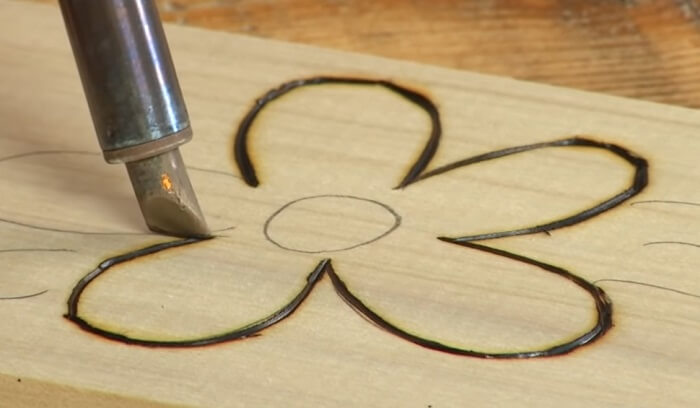
Wood Burning
Woodburning is a process of burning images or words into wood using a heated tool. The history of woodburning dates back to the times of the cavemen, who used sharpened sticks to create designs on the walls of their caves. Today, woodburning is still a popular form of art and can be used to create stunning pieces that will last for generations.
If you’re interested in trying your hand at woodburning, there are a few things you’ll need to get started. First, you’ll need some wood. You can use any type of wood for your project, but softer woods like pine are easier to work with if you’re just starting out.
You’ll also need a woodburning tool, which you can purchase at most craft stores. Be sure to read the instructions that come with your tool before you begin so that you don’t damage the wood or injure yourself.Once you have your supplies, it’s time to start creating!
Begin by sketching out your design on paper. Then, use your woodburning tool to transfer the design onto the wood. Start with small details and work your way up to larger ones so that you don’t accidentally burn too deeply into the wood.
As you work, keep in mind that dark areas will appear darker when burned and light areas will be lighter.When you’re finished burning your design into the wood, take a step back and admire your handiwork! If you want to protect your creation, consider applying a clear coat of sealer over top.
This will help keep the burned image from fading over time.
Plastic Welder
A plastic welder is a device that uses heat to join two pieces of plastic together. The process is similar to welding metal, but the materials and equipment are different. Plastic welders can be used to create everything from small objects to large structures.
The most common type of plastic welder is the hot air welder. This type of welder uses a stream of hot air to melt the plastic, which is then joined together. Hot air welders are often used for small jobs, as they are less expensive than other types of welders and relatively easy to use.
Another type of plastic welder is the ultrasonic welder. This type of welder uses high-frequency sound waves to create friction between the two pieces of plastic, which melts the plastics and joins them together. Ultrasonic welders are more expensive than hot air welders but can be used for larger projects.
Plastic welding can be used for a variety of applications, including creating prototypes, repairing plastics, and joining dissimilar materials. When selecting a plastic welder, it’s important to consider the size and scope of the project as well as your budget.
Pyrography
Pyrography, also known as woodburning, is the art of drawing designs onto wood using a heated tool. The term “pyrography” comes from the Greek word for fire and writing. Pyrography has been around for centuries and was once a popular form of folk art.
Today, it is enjoying a resurgence in popularity, thanks to its unique look and the fact that it can be used to create functional items like cutting boards and pizza peels. If you’re interested in trying your hand at pyrography, there are a few things you’ll need to get started. First, you’ll need some wood.
You can use almost any type of wood for pyrography, but softer woods like pine or basswood are easier to work with if you’re just starting out. You’ll also need a pyrography pen – this is a special pen that heats up so you can burn designs into the wood. Finally, you may want to invest in some stencils or patterns to help you get started.
Once you have all of your supplies, the first step is to choose your design. If you’re using a stencil or pattern, trace it onto your piece of wood with a pencil before getting started with your pyrography pen. If you’re freehanding your design, start by sketching it out lightly with a pencil before going over it with the pen.
When you’re ready to start burning your design into the wood, gently touch the tip of your pen to the surface of the wood and apply pressure until the tip starts to glow red hot. Then simply move the pen along your design lines –the heat will cause the wood fibers to darken and produce an engraved effect. As you work, keep in mind that different woods will produce different results – harder woods will give you darker lines while softer woods will result in lighter ones.
experiment on scrap pieces of wood first until you get a feel for how each type of wood responds to heat!