
Disclosure: As an Amazon Associate, I earn from qualifying purchases. Learn more
Last Updated on February 9, 2024 by Mark Jase
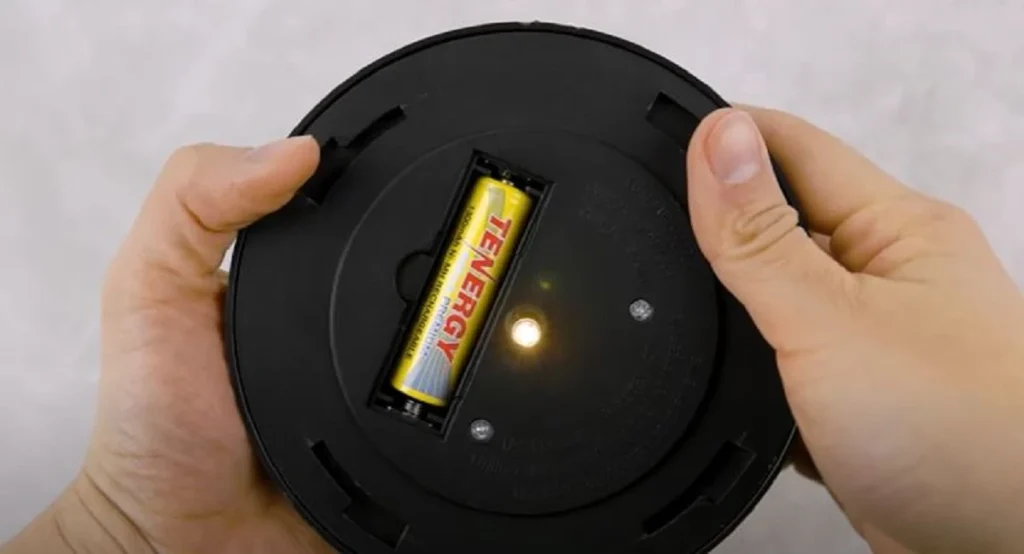
Brand new solar lights not working can often be attributed to battery issues. They might not be charging or holding a charge. Testing with standard batteries can help determine if the problem lies with the rechargeable batteries or the solar panel.
Common steps for troubleshooting include turning off the inverter, AC disconnect, solar disconnect box, and electrical service panel.
Solar lights rely heavily on their batteries and solar panels to function effectively. Issues with solar lights not working can stem from various causes.
A frequent issue is inadequate sunlight exposure, which hinders the charging process. Ensuring that solar lights receive enough direct sunlight is vital for their optimal operation.
Another potential problem is the presence of a pull tab on the battery, which needs to be removed for the lights to work. It’s also essential to check all switches and microprocessors to ensure they are functioning correctly. Loose or corroded connections between the light’s components can impede proper functioning.
In some cases, water buildup in the solar panels can occur, leading to reduced efficiency and malfunctioning. Regular maintenance, such as cleaning the solar panels and checking for obstructions, can prevent many of these issues.
When only half of a solar light string works, it could be due to individual bulb issues or battery charging problems. If solar lights are not working after rain, it may indicate water damage or short-circuiting.
For solar lights not working at night, check if light sources near your solar lights are causing the sensors to perceive it as daytime, preventing them from turning on.
To fix a solar light sensor, you might need to shade the light sensor, check the batteries, avoid shadows, position the solar panels optimally, and ensure the panels face the right direction.
6 Reasons Your Brand New Solar Lights Not Working and Their Solutions
1. Insufficient Sunlight Exposure
Solar lights require adequate sunlight to charge their batteries. Often, new solar lights are placed in areas with limited sunlight, under trees or eaves, which impedes their ability to charge. The solar panel may also be covered in protective film or debris that blocks sunlight.
To fix this, relocate the solar lights to a spot where they receive direct sunlight for the majority of the day.
Clean the solar panels regularly to ensure they are free from dust, dirt, or any coverings that might have been missed during installation.
2. Factory-Installed Pull Tabs
New solar lights often come with pull tabs on the batteries to prevent them from discharging during shipping. If these tabs are not removed, the lights won’t power up.
The solution is straightforward: open the battery compartment and ensure any pull tabs are removed. This simple check can often resolve the issue of new solar lights not working.
3. Battery Issues
The batteries in solar lights might not be properly seated or could have a manufacturing defect. In some cases, the batteries might not be fully charged upon purchase.
To address this, first, check that the batteries are correctly installed. If the problem persists, charge the lights under direct sunlight for a full day.
If the issue still isn’t resolved, consider replacing the batteries with new ones that are compatible with your solar lights.
4. Water and Moisture Damage
Solar lights are designed to be weather-resistant, but sometimes water or moisture can seep into the housing, especially after heavy rain. This can cause short-circuiting or damage to the internal components. The solution involves checking for any signs of water ingress.
Ensure all seals and gaskets are intact and properly seated. In some cases, applying a silicone sealant to gaps can prevent future water entry.
5. Sensor Malfunctions
Solar lights have sensors to detect daylight and darkness, triggering them to turn off or on. If these sensors are malfunctioning or obstructed, the lights may not work as expected.
To fix sensor issues, first ensure that there is no obstruction, like leaves or dirt, blocking the sensor. Adjust the sensor’s angle if necessary to ensure it accurately detects light levels. If the sensor is defective, it may need to be replaced.
6. Electrical Connectivity Problems
Connectivity issues within the solar light can arise due to loose wiring or poor connections. These problems can prevent power from reaching the LED.
Inspect all wires and connections for looseness or damage. Tighten any loose connections and replace damaged wires. In some cases, the LED bulb itself may be faulty and require replacement.
Resetting Solar Lights: A Step-by-Step Guide
Resetting solar lights is a straightforward process that can often resolve issues with their functionality. Here’s how you can reset your solar lights to restore their performance:
Step 1: Turn Off the Lights
Begin by switching off the solar lights. This is usually done by pressing a button or flipping a switch located on the lights. If your solar lights don’t have a switch, you might need to completely cover the solar panel to simulate darkness, which turns them off.
Step 2: Remove Batteries
Carefully open the battery compartment and remove the batteries. It’s crucial to handle the batteries with care to avoid any damage. Ensure that you remember the correct orientation of the batteries for reinstallation.
Step 3: Leave the Lights Off
After removing the batteries, leave the solar lights off for a few minutes. This duration allows the internal circuitry to reset. During this time, ensure the solar lights are not exposed to any light sources.
Step 4: Reinsert Batteries and Turn On
Reinsert the batteries, making sure they are properly aligned according to their polarity. Close the battery compartment securely. Then, turn the solar lights back on or uncover the solar panel.
Step 5: Charge the Lights
Place the solar lights under direct sunlight for a day to ensure they receive a full charge. This step is important for the lights to regain their optimal performance.
Read Also: Does Ring Solar Panel Need Direct Sunlight?
Why are Only Half My Solar Lights Working?
Discovering that only half of your solar lights are working can be puzzling. This issue is often caused by individual malfunctions within the light string or a systemic problem affecting the entire set.
One common reason for this problem is the failure of individual bulbs or LED units. Over time or due to manufacturing defects, some bulbs may burn out or become disconnected.
Inspecting each bulb for visible damage or loose connections is the first step. Replacing defective bulbs or tightening connections can often resolve the issue.
Another potential cause could be issues with the wiring. Exposure to the elements or physical damage can lead to frayed or broken wires within the string.
Carefully inspect the entire length of the wire, looking for any signs of damage or wear. Repairing or replacing damaged sections is crucial for restoring functionality.
Battery problems can also lead to partial lighting. If the solar lights are not receiving enough sunlight to charge fully, the stored energy may only be sufficient to power half of the lights.
Ensuring that the solar panel is clean, unobstructed, and positioned to receive maximum sunlight can help in charging the batteries more effectively.
In some cases, a problem with the solar panel or the charging circuit can cause inadequate charging. Checking the connections and cleanliness of the solar panel, along with ensuring it’s not shaded during the day, is essential. If the solar panel or the circuitry is damaged, professional repair or replacement might be necessary.
Troubleshooting New Solar Lights: Top Queries Answered
Could Factory Settings Affect New Solar Lights?
Yes, factory settings can affect new solar lights. Some models come with a transport mode to prevent battery discharge, which limits functionality until deactivated. To resolve this, check the manual for specific instructions to switch the lights to normal operating mode.
Do Weather Conditions Influence Solar Light Functioning?
Extreme weather conditions can impact the performance of new solar lights. Prolonged overcast days may prevent adequate charging, while extreme cold or heat can affect battery efficiency. Positioning lights in optimal locations and ensuring they are weather-resistant can mitigate these effects.
Is Initial Charging Necessary for New Solar Lights?
New solar lights often require an initial charging period before first use. This involves leaving them in direct sunlight for a recommended duration, usually 6-8 hours, to ensure full battery charge. Skipping this step can result in poor performance.
Can Incorrect Installation Cause Issues?
Improper installation can lead to new solar lights not working. This includes incorrect positioning, where the solar panel isn’t exposed to sufficient sunlight or incorrect assembly. Reviewing the installation guidelines and adjusting the setup can often resolve this issue.
Does the Angle of Solar Panels Affect Performance?
The angle at which solar panels are positioned can significantly affect the charging efficiency of new solar lights. If the panels aren’t aligned properly with the sun’s path, they may not charge effectively. Adjusting the angle for optimal sun exposure can improve their performance.